EN


Flexible Safety Barrier Installation: A Step-by-Step Planning Guide
Successful safety barrier installation starts before a crew marks a floor or opens a hardware pack. In an active warehouse, plant, or distribution area, a flexible barrier is one part of a wider traffic-control plan. The useful first question is not which rail looks strongest; it is where people, forklifts, tugs, carts, and loads can conflict. A clear planning process helps a team place polymer safety barriers where they support separation without blocking access, sightlines, maintenance, or emergency movement.
From a facility-safety planning perspective, the installation plan should match traffic routes, impact exposure, and operating practices before a barrier configuration is chosen. OSHA guidance notes that forklift traffic should be separated from workers and pedestrians where possible, with walkways and permanent railings or other protective barriers among the measures a site may consider. That principle is broad; the actual layout, mounting method, and protective function still need to fit the conditions of the individual facility.
Start With the Operating Zone Before Safety Barrier Installation
Map the exact area that needs control. Observe it during more than one operating period if traffic changes by shift, delivery window, or production schedule. A route that appears quiet during a walkthrough may become a conflict point when pallets arrive, operators leave a line, or visitors enter through a shared door.
- Trace vehicle travel paths, reversing areas, turning circles, and queue points.
- Mark pedestrian entries, crossings, workstations, doors, stairs, and emergency egress.
- Identify fixed assets that a vehicle could strike, such as rack ends, machinery corners, columns, or electrical equipment.
- Note obstructions that affect visibility, including stored stock, open doors, racking, and temporary staging.
- Ask operators where routes change during cleaning, replenishment, maintenance, or peak dispatch.
HSE workplace-transport guidance similarly emphasizes separating roadways and footpaths where possible and considering protection near building entrances, exits, and corners. Put simply, the barrier choice follows the route problem rather than the other way around.
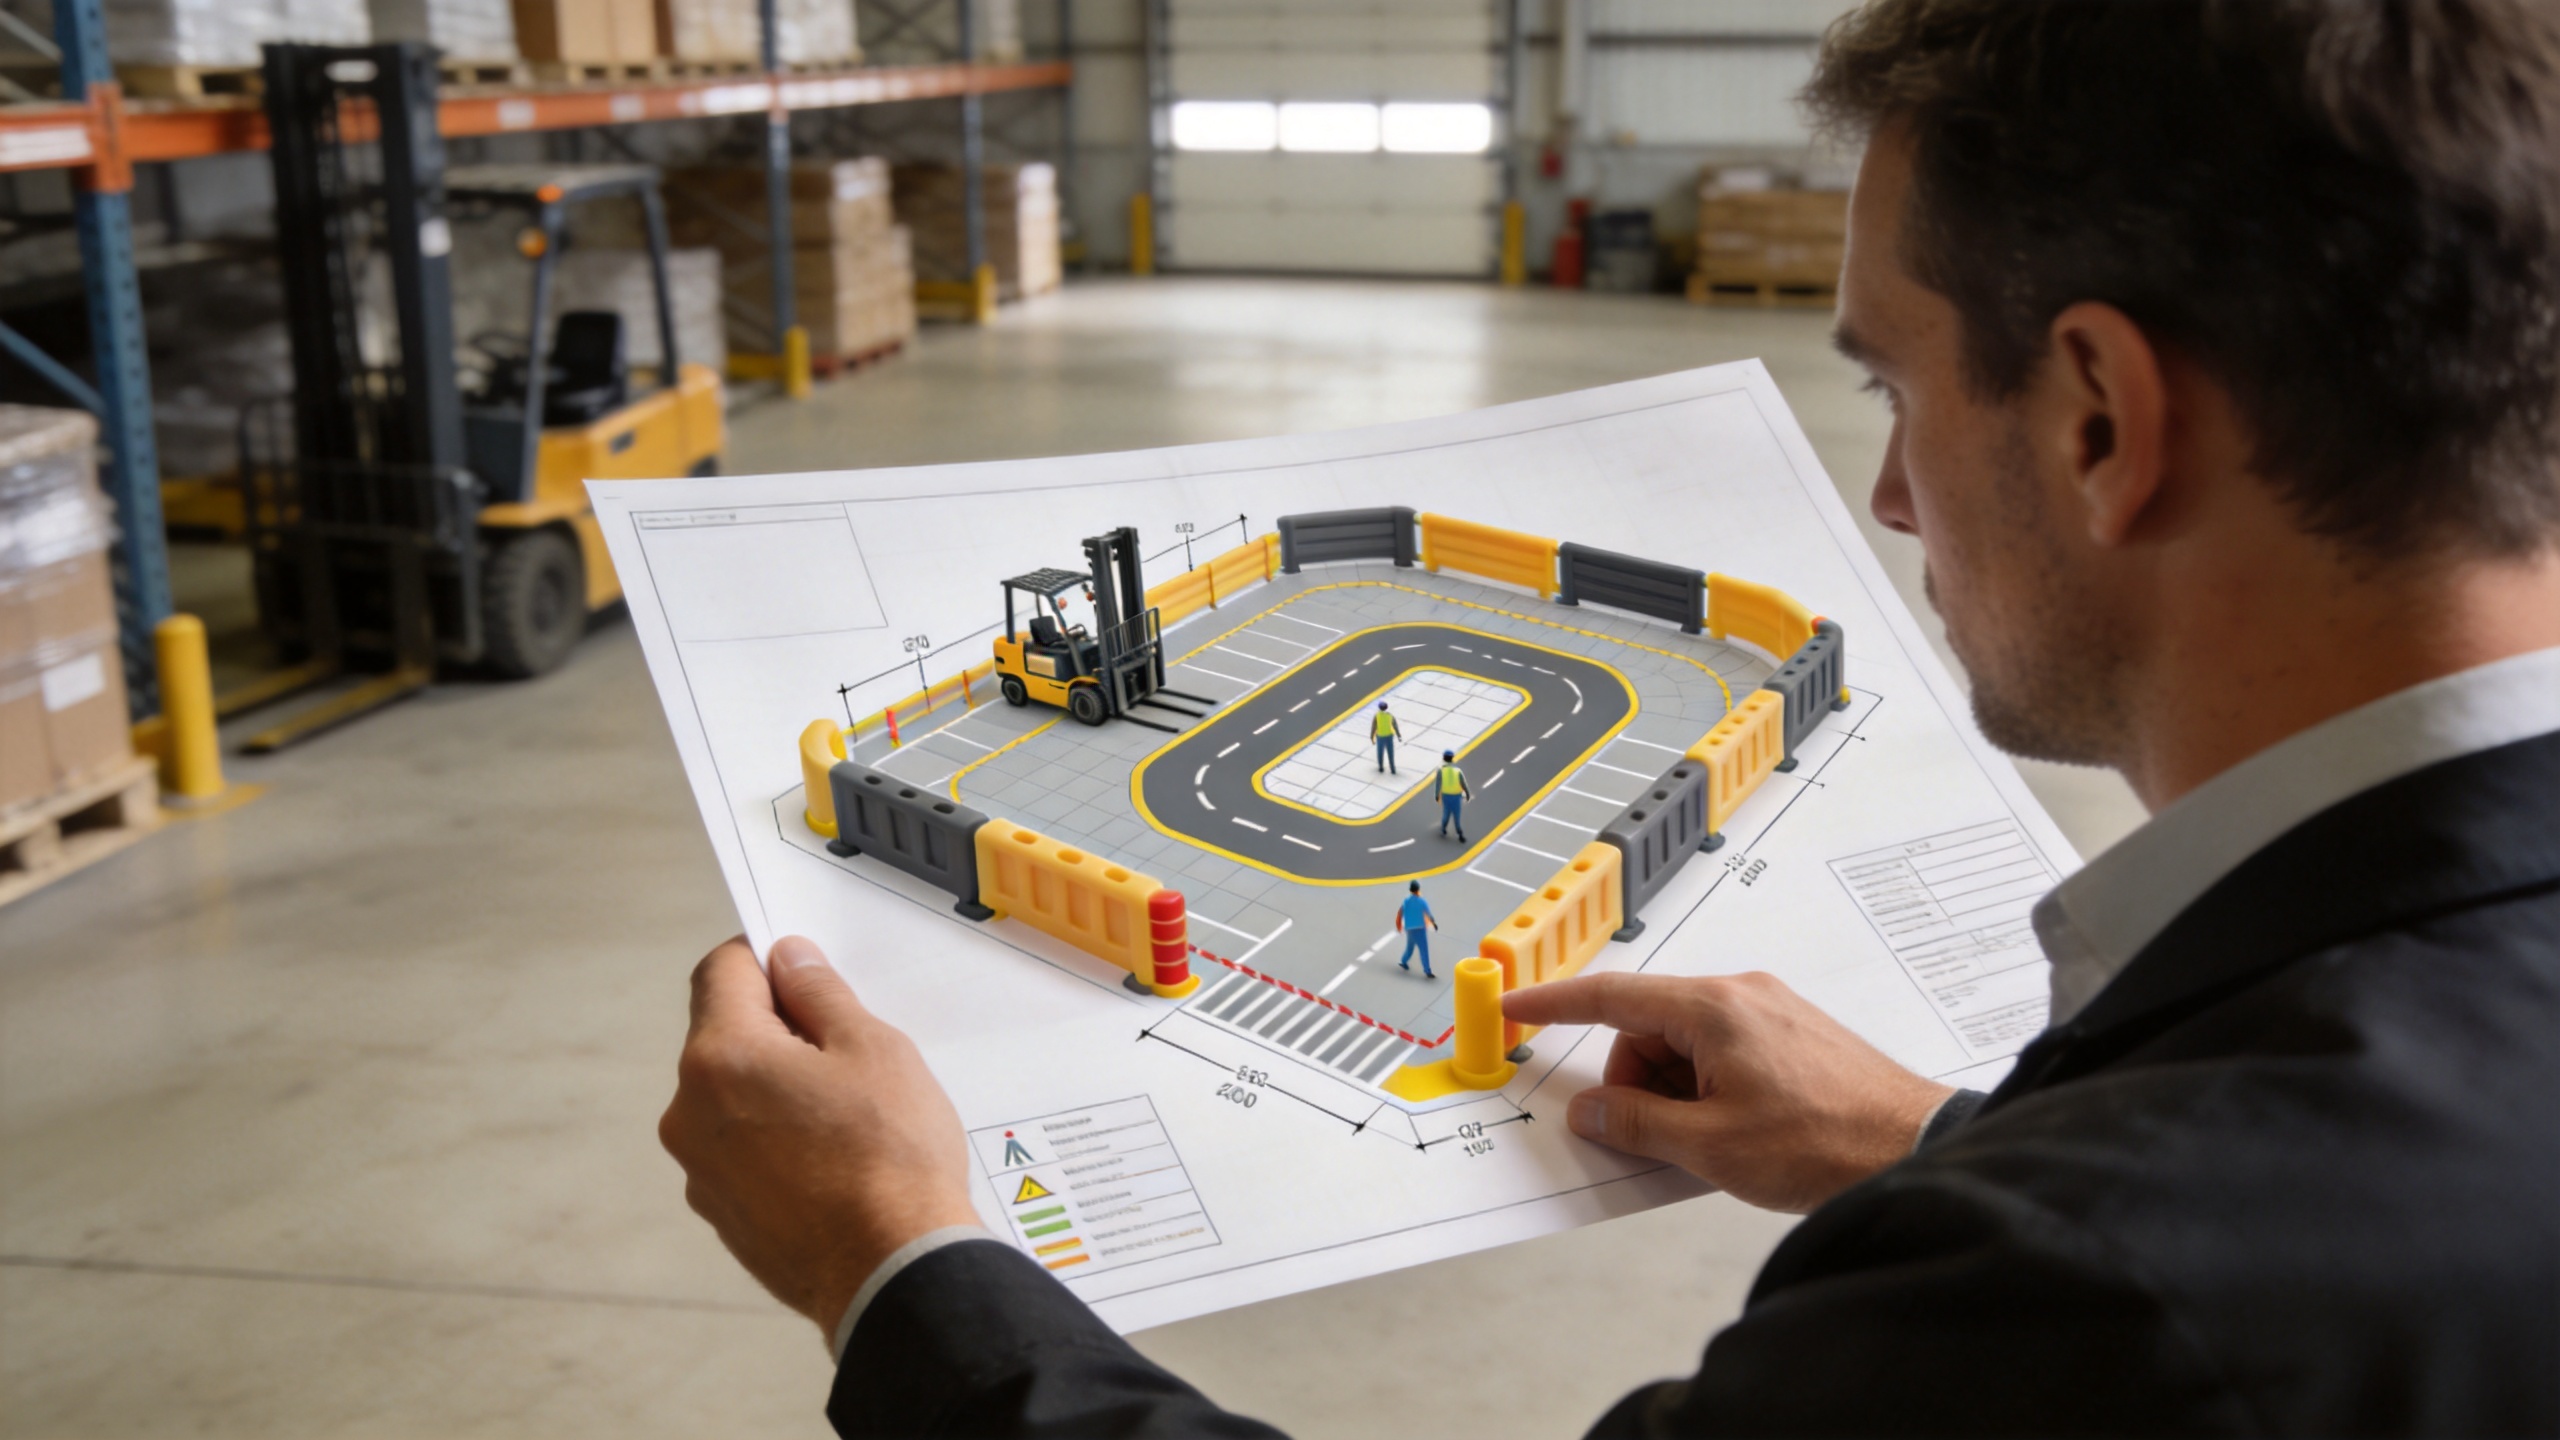
Step 1: Define the Safety Barrier Installation Objective
Write a short statement for every proposed line of flexible crash barriers. For example: prevent a forklift from entering a pedestrian walkway; guide people away from a blind corner; protect the exposed end of a rack run; or create a boundary around a machine service area. One zone may need more than one control, such as floor markings, signs, a managed crossing, and a barrier. A barrier should not be treated as a substitute for a traffic plan, supervision, or operator training.
Be specific about what the installation is intended to do and what it is not intended to do. The suitable configuration depends on the route, vehicle type, load movement, likely direction of travel, and mounting context—not on a single headline feature.
Step 2: Survey Dimensions for Safety Barrier Installation
Accurate measurements are the foundation of a workable safety barrier installation. Measure the length of the protected run, available floor area, openings, corner geometry, and the clearance needed for people, equipment, doors, and maintenance. Record floor joints, drains, uneven areas, embedded services, and other conditions that could affect mounting or create trip and cleaning issues.
Do not survey only the final barrier line. Measure the approach path and the space on both sides of it. If a forklift turns beside the boundary, review the swept path with the actual vehicle and load profile. If pedestrians use the route, verify that the remaining path is understandable, accessible, and not directed toward a new pinch point. Where the consequences of a layout error are significant, involve the appropriate site engineering, EHS, and operations representatives before release.
Step 3: Match the Safety Barrier Installation Layout to Traffic
Use the survey to decide whether the zone needs a continuous run, a corner return, an opening, a controlled crossing, or a combination of these. Avoid placing polymer safety barriers so that they create a hidden exit, force pedestrians into a vehicle lane, or reduce a driver’s view at an intersection. At crossings, keep the route legible with markings and signs, and check sightlines in every travel direction.
Flexible systems may suit locations where traffic separation is needed and an impact-resilient boundary is being considered, but the planning team should verify the proposed configuration against the supplier’s current documentation and the site’s risk assessment. Check compatibility among posts, rails, gates, end treatments, fixings, and the floor condition. Do not assume a component intended for one arrangement automatically provides the same function in another.
Step 4: Plan the Safety Barrier Installation Sequence
A phased plan reduces disruption and makes the safety barrier installation easier to inspect. Assign an owner for each action and agree when the zone will be isolated. In a busy facility, the safest time to install may be a maintenance window, a controlled shutdown, or a period when an alternate route is available.
- Confirm the approved layout. Use the current drawing, field measurements, and the agreed protective objective.
- Prepare the area. Remove temporary stock and hazards, clean the mounting surface, and establish a safe work boundary.
- Mark positions. Mark post centers, ends, returns, and openings; recheck clearances before drilling or fixing.
- Install to the verified system instructions. Use the required components and fixing method for the actual substrate and configuration. Escalate unexpected floor conditions instead of improvising.
- Maintain temporary traffic control. Keep vehicles and pedestrians out of the work area until the installation and inspection are complete.
Before work begins, brief drivers, operators, contractors, and nearby teams on the temporary route. If the route changes by shift, the communication plan should cover each affected group rather than relying on a single noticeboard message.
Step 5: Verify the Completed Safety Barrier Installation
The last fixing is not the end of the job. Walk the area with operations and safety stakeholders. Confirm that the installed line follows the approved plan, openings serve their intended purpose, and the boundary has not introduced a new access or visibility problem. Review the zone with typical equipment where it can be done safely.
- Check clearances at doors, corners, pedestrian paths, and service points.
- Confirm that signs, floor markings, crossings, and route instructions still make sense.
- Inspect visible components and fixings against the approved installation instructions.
- Document deviations, photographs, inspection ownership, and the date for the next review.
- Update traffic maps and induction materials so new staff and visitors understand the changed layout.
HSE guidance highlights the need to consider changing vehicle and pedestrian volumes, particularly around busy crossings and shift changes. Build that review into the handover rather than treating the layout as permanent once installed.
Common Safety Barrier Installation Planning Mistakes
A neat-looking barrier line can still be a poor control if it is based on incomplete information. Common mistakes include measuring only a straight run, overlooking a door swing or service access, ignoring temporary traffic patterns, relying on floor paint where physical separation is needed, and installing flexible crash barriers before the vehicle and pedestrian routes have been agreed. Another frequent issue is changing components in the field without confirming how the revised arrangement affects the intended protective function.
Use a simple change-control rule: if the route, vehicle type, opening, floor condition, or configuration changes, pause and review the plan. This helps keep a practical installation from drifting away from the risk it was meant to address.
Build an Adaptable Safety Barrier Installation Plan
Flexible safety barrier planning is most effective when it connects the physical boundary to how the site actually operates. Start with traffic observation, define the exposure, survey the whole zone, coordinate the installation window, and verify the result with the people who use the area. By treating safety barrier installation as a controlled planning task rather than a simple fit-out job, teams can create clearer separation and leave a better record for future layout changes.
Pre-Installation Briefing Checklist
Before authorizing a safety barrier installation, give the installation team a short, location-specific brief. It should identify the approved drawing, protective objective, work-zone boundary, temporary traffic route, floor or substrate concerns, and the person who can approve a field change. This record is particularly useful when polymer safety barriers are installed in a live area where deliveries, cleaning, or shift handovers may interrupt the work.
Confirm that every affected person understands what remains open, what has moved, and when normal traffic can resume. For flexible crash barriers, the installation instructions and the planned arrangement must stay together: a missing return, changed opening, or alternative fixing is a design question, not merely a scheduling adjustment. If the field condition differs from the plan, stop, document it, and obtain the appropriate review before continuing.
 Hot News